In this article we will cover how to write the data to NFC tags using IRIS application.
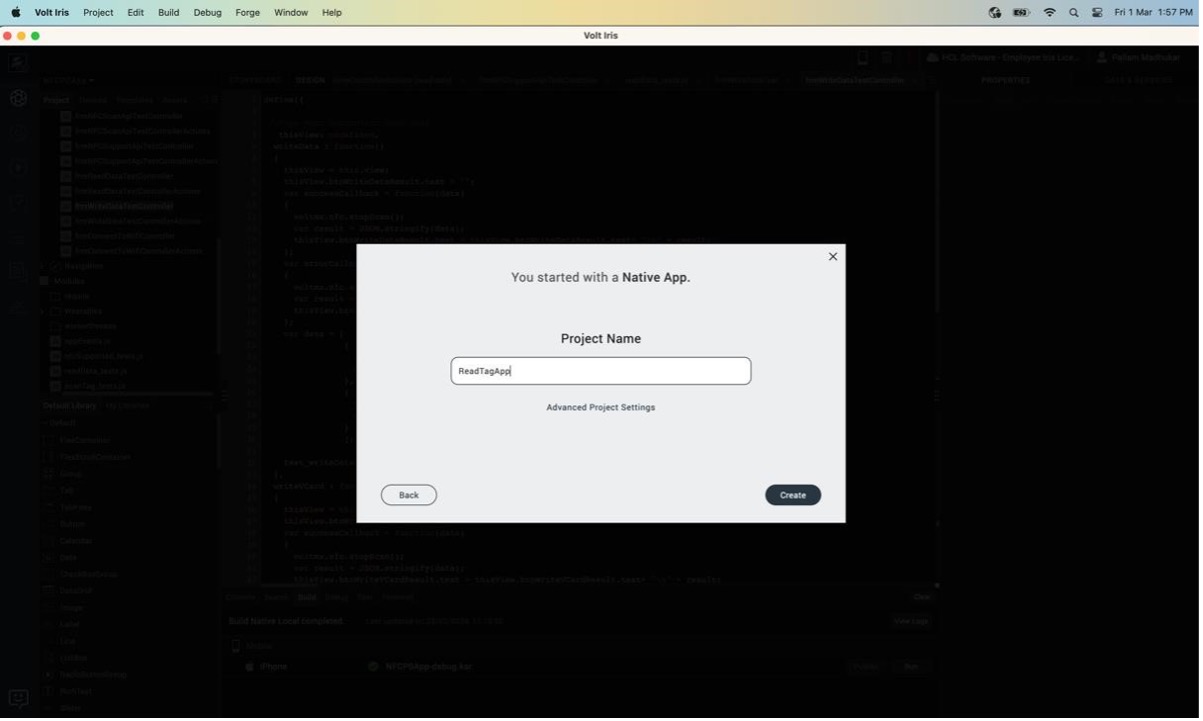
- Create a Native app
- Configure NFC for your project.
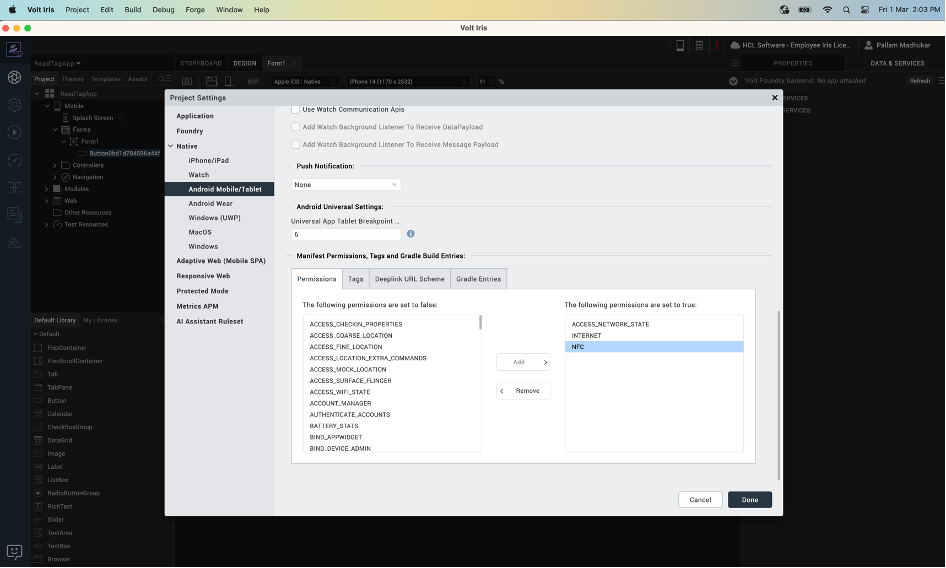
2.1. Add Android NFC permission.
Open Project Settings → select Native Tab → select Android Mobile/Tablet → In
Manifest Permissions (Permission Tab) → add NFC and click Done.
2.2. Add iOS NFC capability.
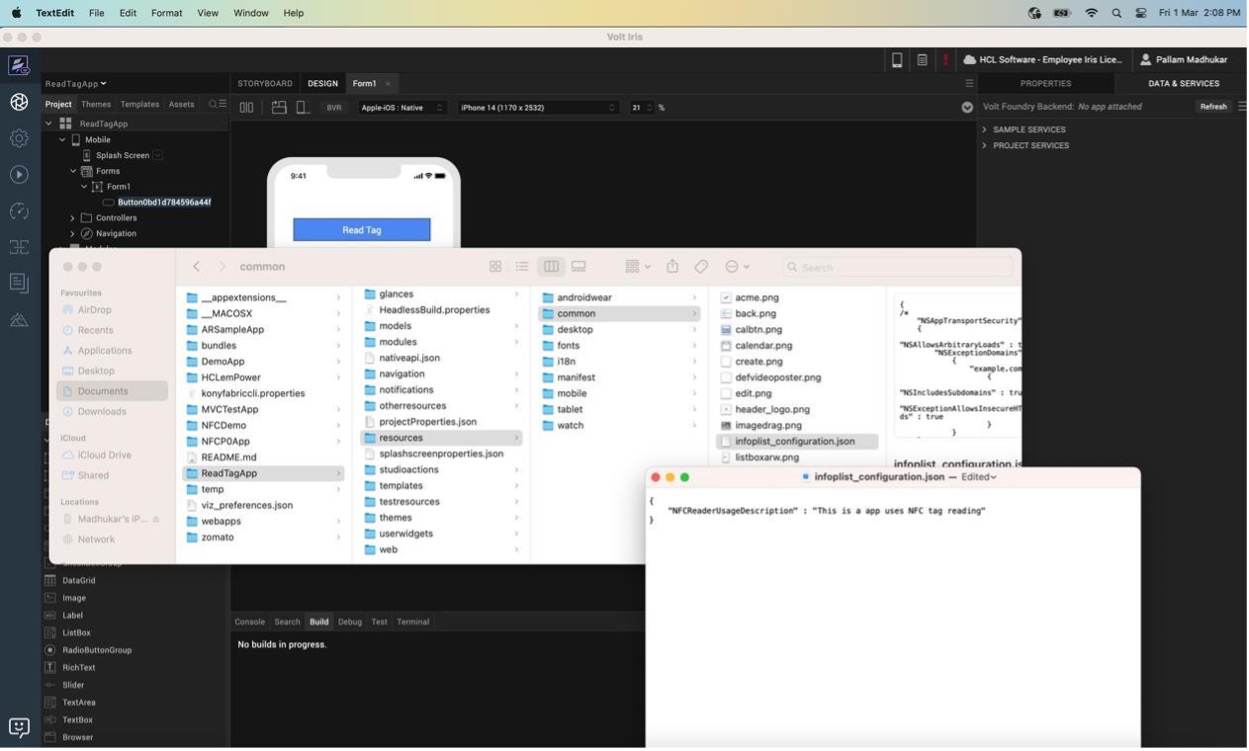
Open Project Resources/common/quantum_nitro_configuration.json and add NFC entitlement.
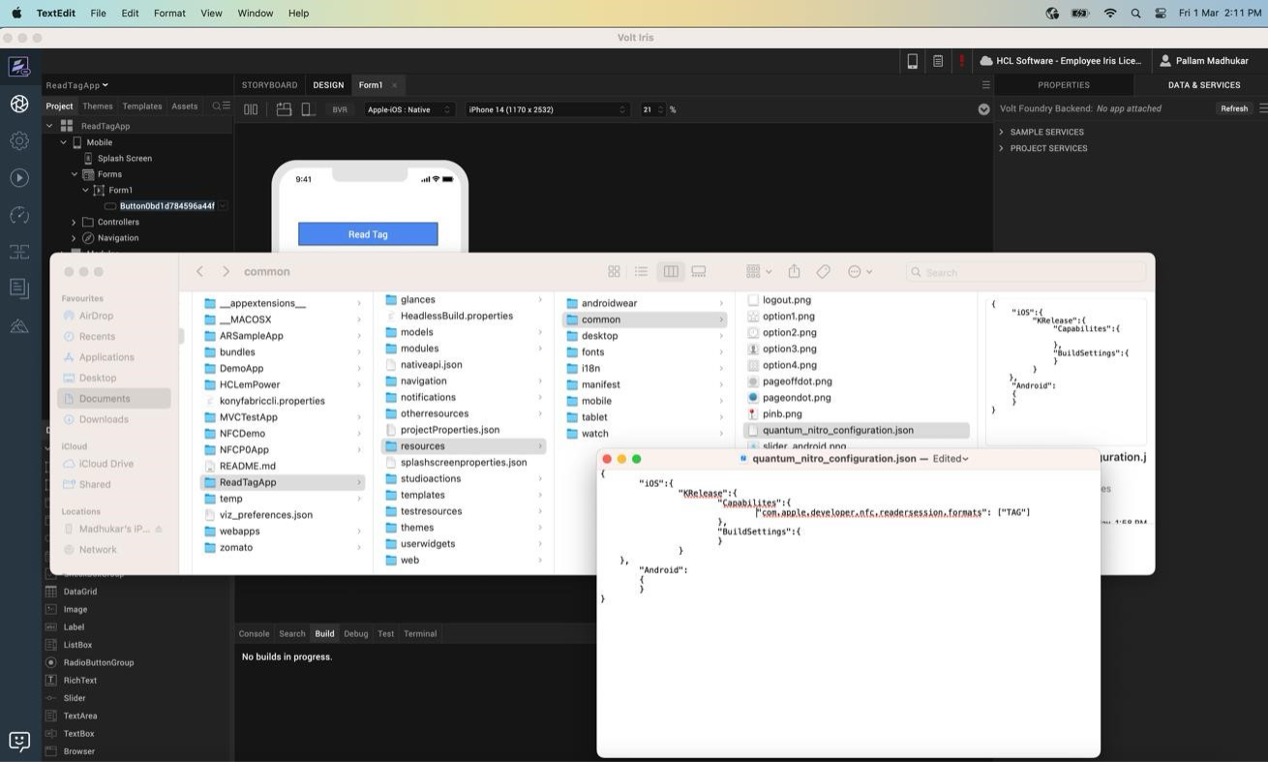
2.3. Add NFC usage description for iOS.
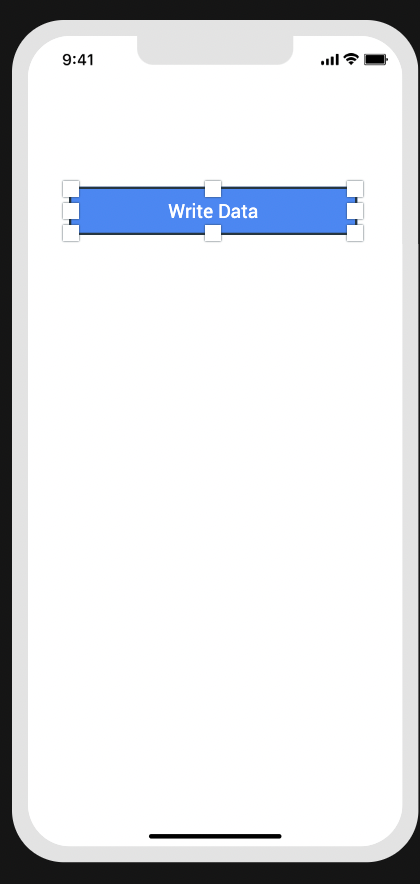
- Add a button to Form.
- Add function to FormController
4.1. check NFC availability in device.
  if (voltmx.os.hasNFCSupport()) {

    //call NFC API's

  } else {
  alert("NFC is not Supported in this device");

  }
4.2. start scan session and configure success and error call backs.
var errorCallback = function(error){

   if(error.errorCode === voltmx.nfc.ERROR_NO_TAG){

      alert("Tag no longer nearby to write.");

   }

};

var success = function(tags){

if(tags!==undefined && tags.length>0){

if(tags.length===1){

//write data to tag

}

else {

var update = {"message":

"More than 1 tags found. Please present only 1 tag."};

voltmx.nfc.updateUI(update);

}
}
};

var config = {

"scanContinuously": false,

"message" : "Hold your device near an NFC tag."

};

voltmx.nfc.scanTag(config, success, errorCallback);
4.3. call writeData API to write the data records of the NFC Tag.
Call the writeData function on the tag as shown in the below code snippet.
var writeSuccessCallback = function(data) {
    voltmx.print("NFC Write success");
}
var writeFailureCallback = function(errorCode) {
    voltmx.print("NFC Write Failure");
}
var data = [{
    type: voltmx.nfc.DATATYPE_TEXT,
    data: "This is the test data to write to tag !!"
}];
tag.writeData(data, false, writeSuccessCallback, writeFailureCallback);
Also configure the success and error callback for writeData function and supply the data key value pair as shown below.
Here we are passing false as second parameter to writeData api, which indicates that do not append the data to existing data and ovewwrite the existing data.
Note: You can copy the following complete function to your controller.
writeTextData: function(textData) {
    var config = {};
    var tagFoundCallback = function(tags) {
        if (tags.length > 0) {
            var tag = tags[0]; //choosing first tag.
            var writeSuccessCallback = function(data) {
                voltmx.print("NFC Write success");
            }
            var writeFailureCallback = function(errorCode) {
                voltmx.print("NFC Write Failure");
            }
            var data = [{
                type: voltmx.nfc.DATATYPE_TEXT,
                data: textData
            }];
            tag.writeData(data, false, writeSuccessCallback, writeFailureCallback);
        }
    };
    var errorCallback = function(errorCode) {
        voltmx.print("NFC ERROR :: " + errorCode);
    }
    voltmx.nfc.scanTag(config, tagFoundCallback, errorCallback);
}
-
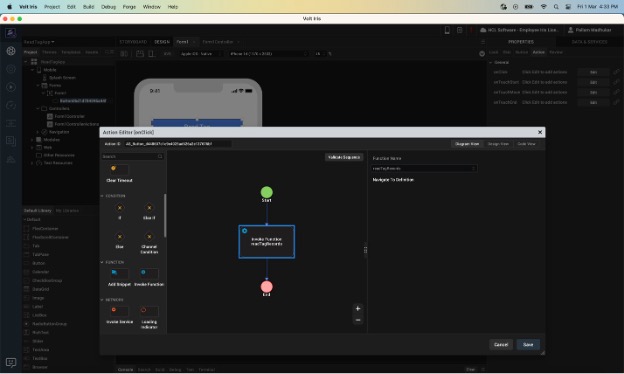
Map function to the button click in action editor as shown in below.
-
Build and Run the app to write data to tag.