Installing Volt Foundry Using HelmChart Zip on Azure Kubernetes Service
This guide walks you through deploying Volt Foundry using a Helm chart packaged as a .zip file.
Prerequisites
- Azure Kubernetes Service:
- A running Azure Kubernetes cluster.
kubectlconfigured to access the cluster.- Azure Cli installed in your local machine.
- Helm Installed:
Install Helm CLI on your local machine:
Do check the officail Doc to install helm using other methodscurl https://raw.githubusercontent.com/helm/helm/main/scripts/get-helm-3 | bash - Volt Foundry HelmChart Zip File:
Obtain theHelmChart-<version>_GA.zipfile containing the Helm chart from the flexnetoperations. Contact customer support if you don’t have the access to download.
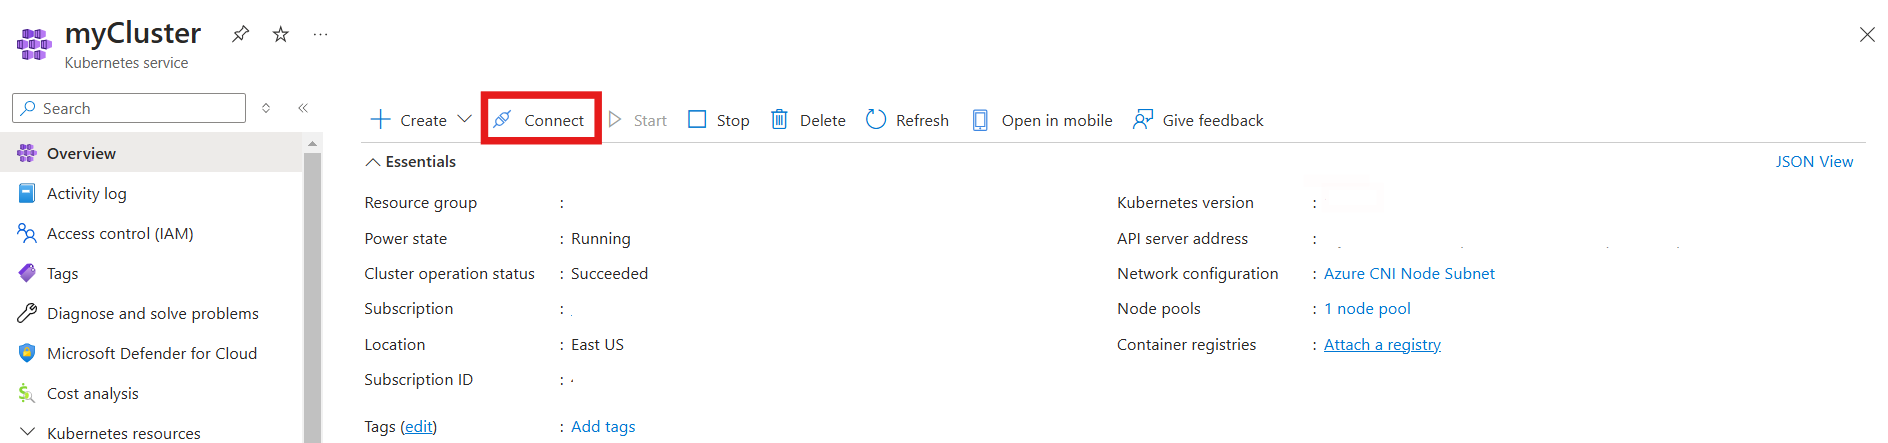
Step 1: Connect to the Cluster
Ensure your Azure Kubernetes cluster is ready and connect using the following steps:
-
Once logged into your account navigate to your kubernetes service and click on connect.
-
Using azure cli on your local, you connect to the cluster by following the below image.
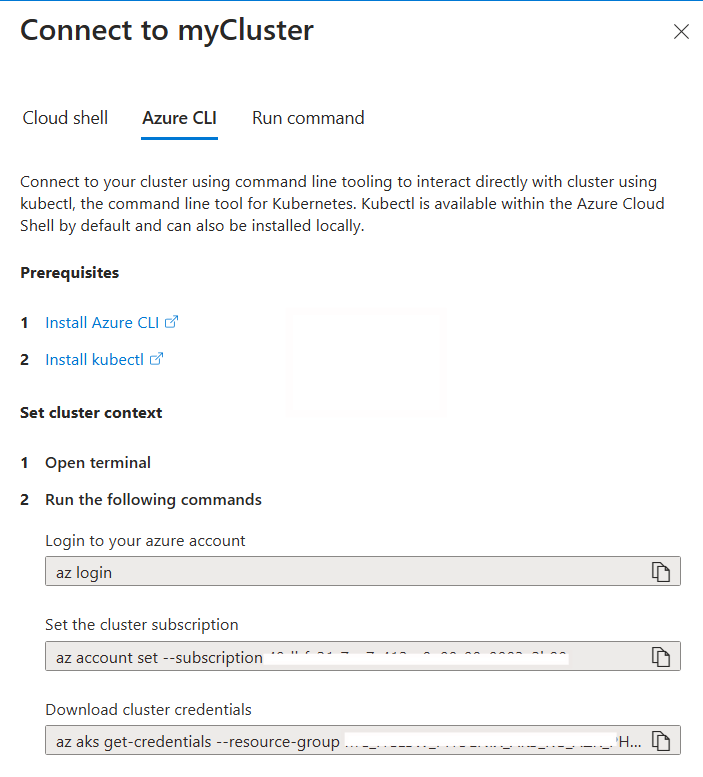
az login
az account set --subscription <id>
az aks get-credentials --resource-group <RG> --name <NAME>--overwrite-existing
Note: Please replace the placeholders with your cluster and project specific values.
Step 2: Setup Ingress Controller if not configured
Using the LINK setup ingress controller for your cluster. If you are using other ingress controllers outside the Kubernetes cluster make sure to change the ingress class accordingly.
Step 3: Setup foundry using officail Doc
Use LINK which explains in detail on setting up foundry to the connected cluster.
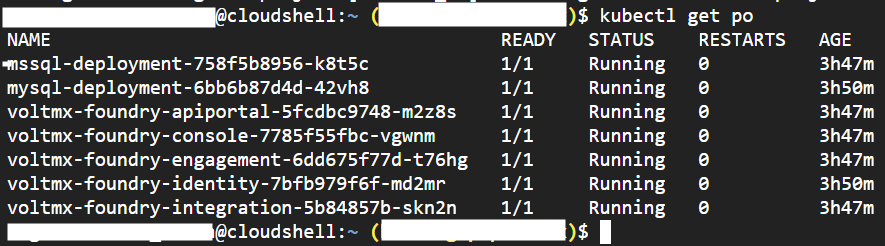
Step 4: Verify Installation
-
Once installed you should see all the
volt-foundry-*containers running successfully.
-
Once logged in to the Foundry mfconsole, create an environment and publish a sample app.