How to use native generated NFIs in Iris for iOS platform
- NFIs generated for native frameworks( frameworks provided by Apple) are uploaded to Iris cloud.
- NFIs are placed at below path in Iris:
Click on Menu->Edit->Manage Native Function API(s)
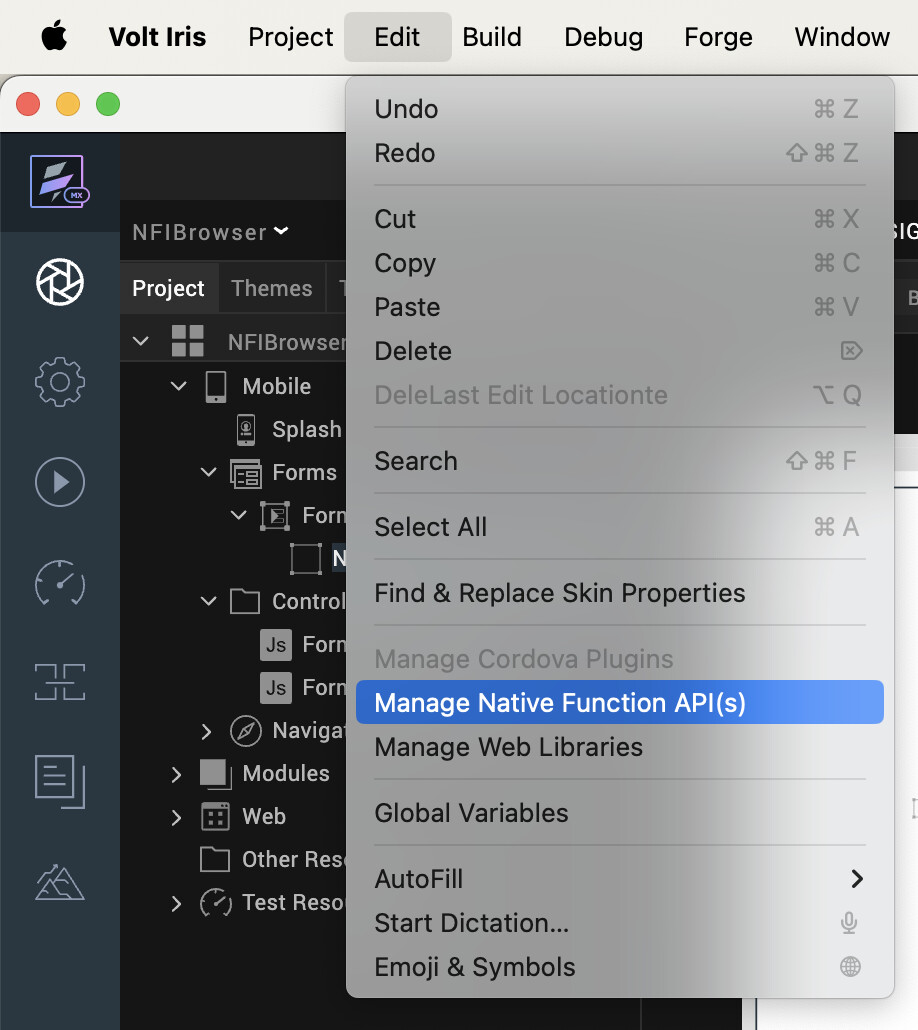
- Once you click on Manage Native Function API(s), a popup window opens as below:
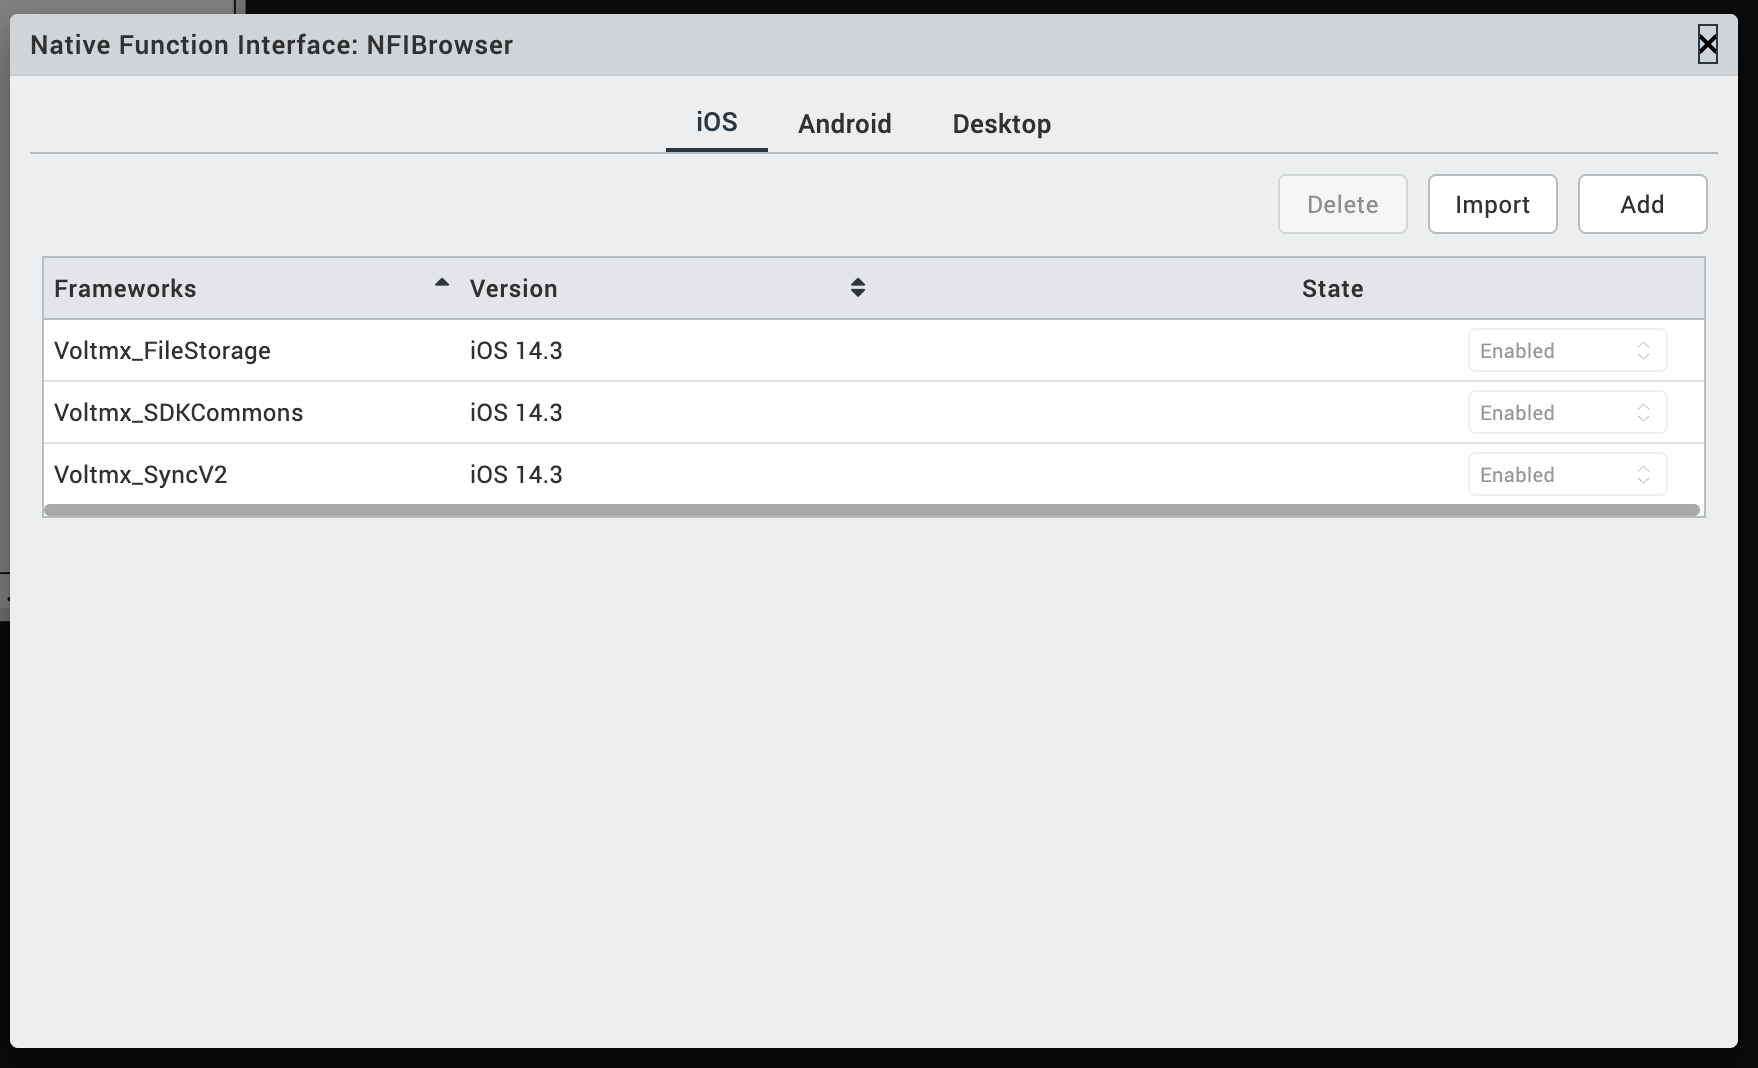
- Click on Add on top right side to get a view of NFIs for native frameworks provided by Apple.
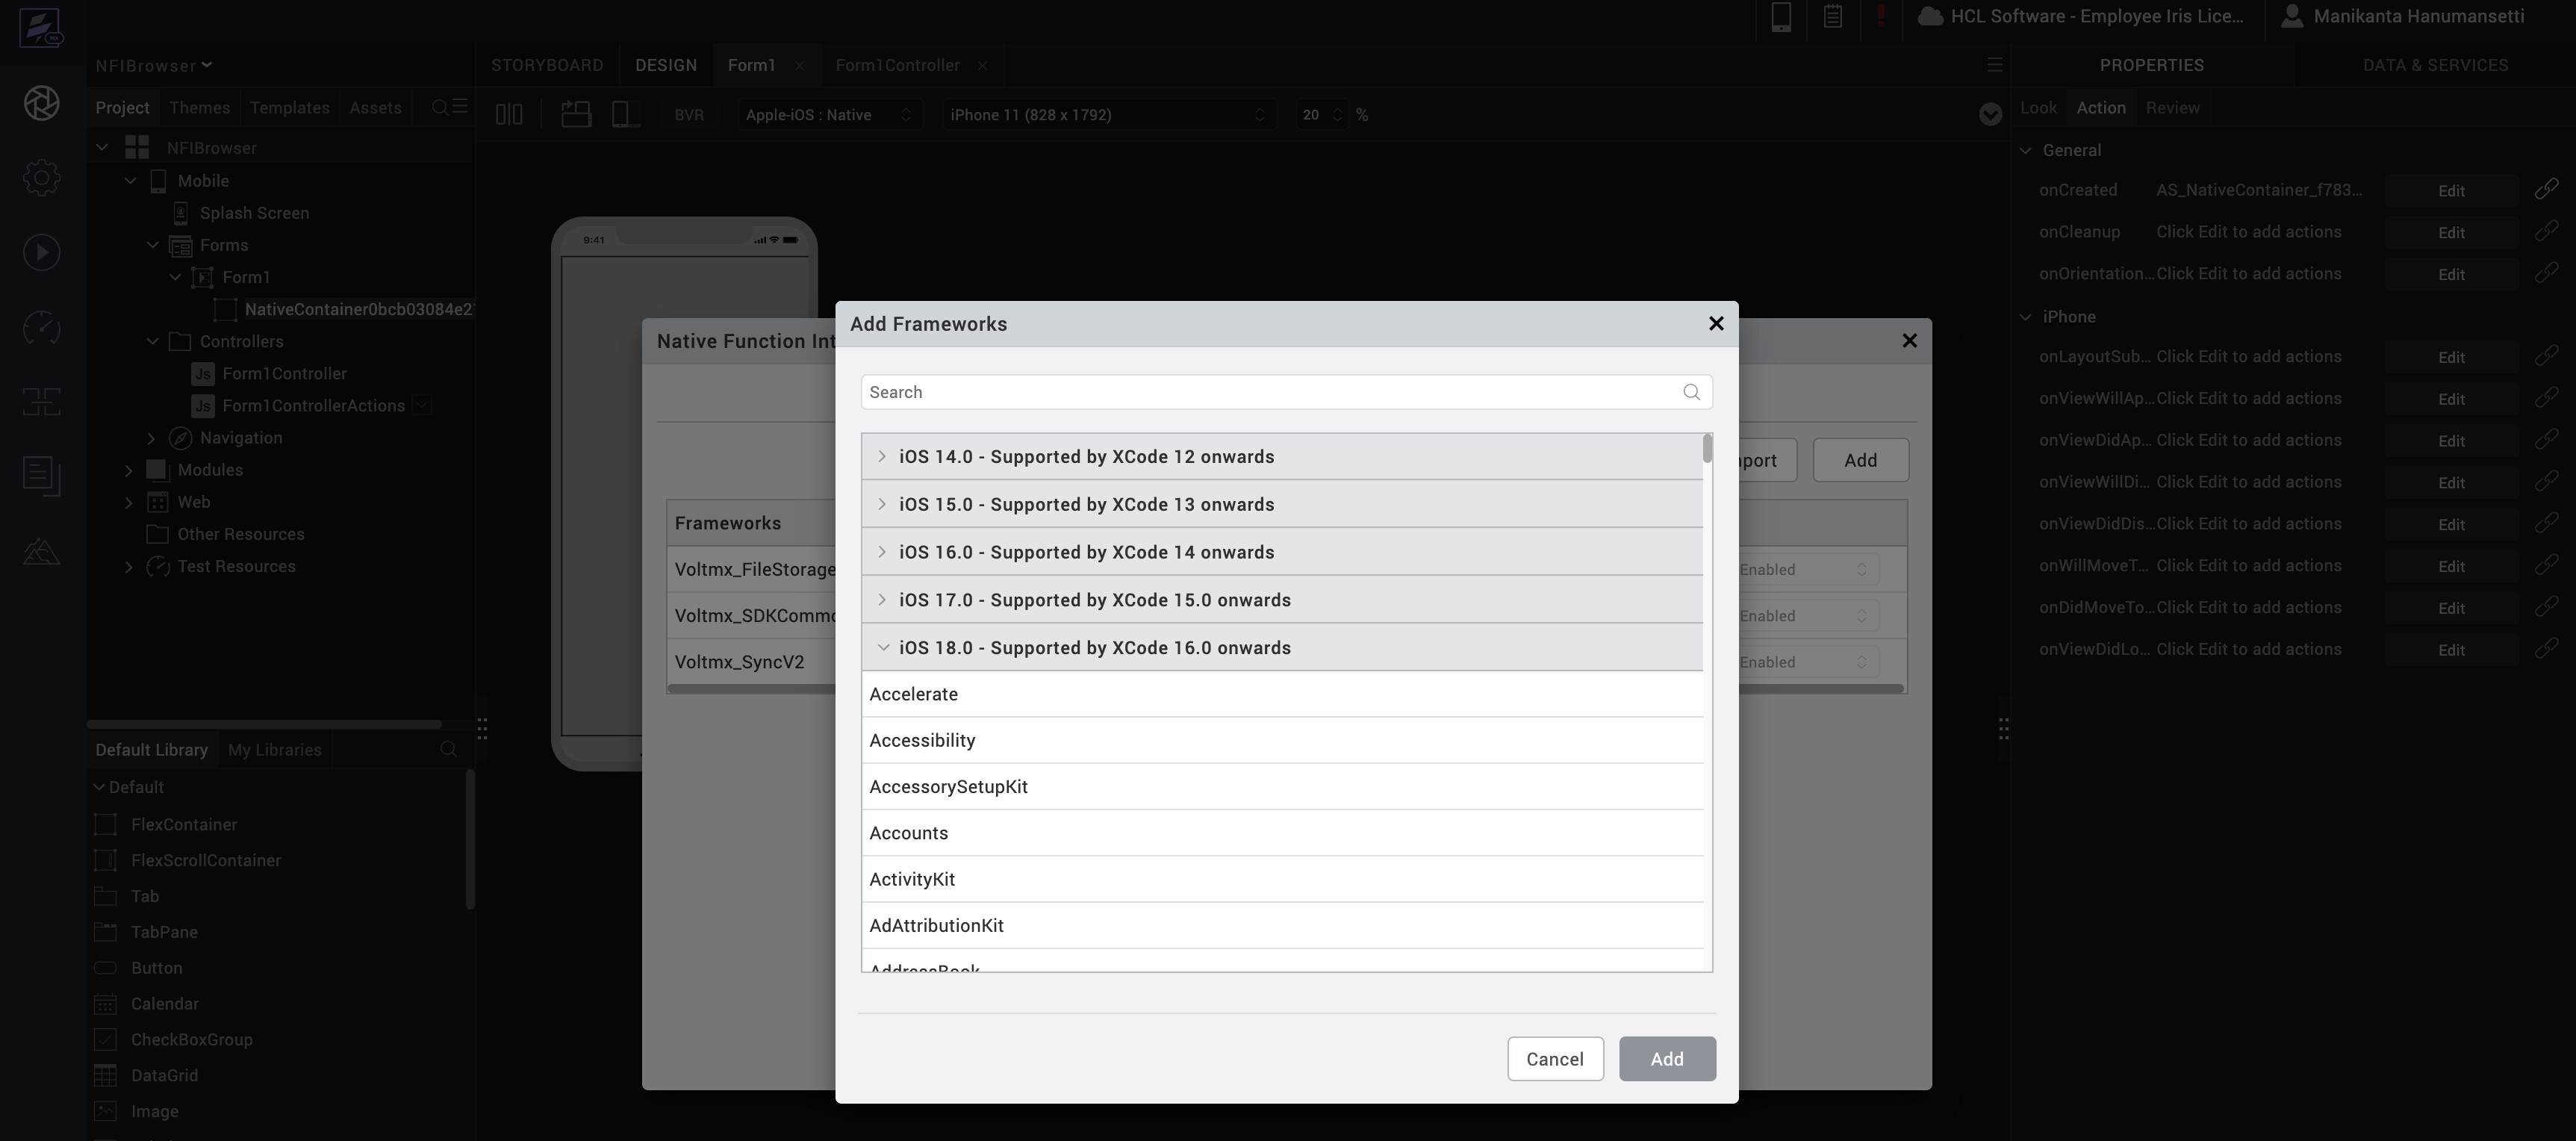
- Select NFIs you want to add to your Iris Project and Click Add.
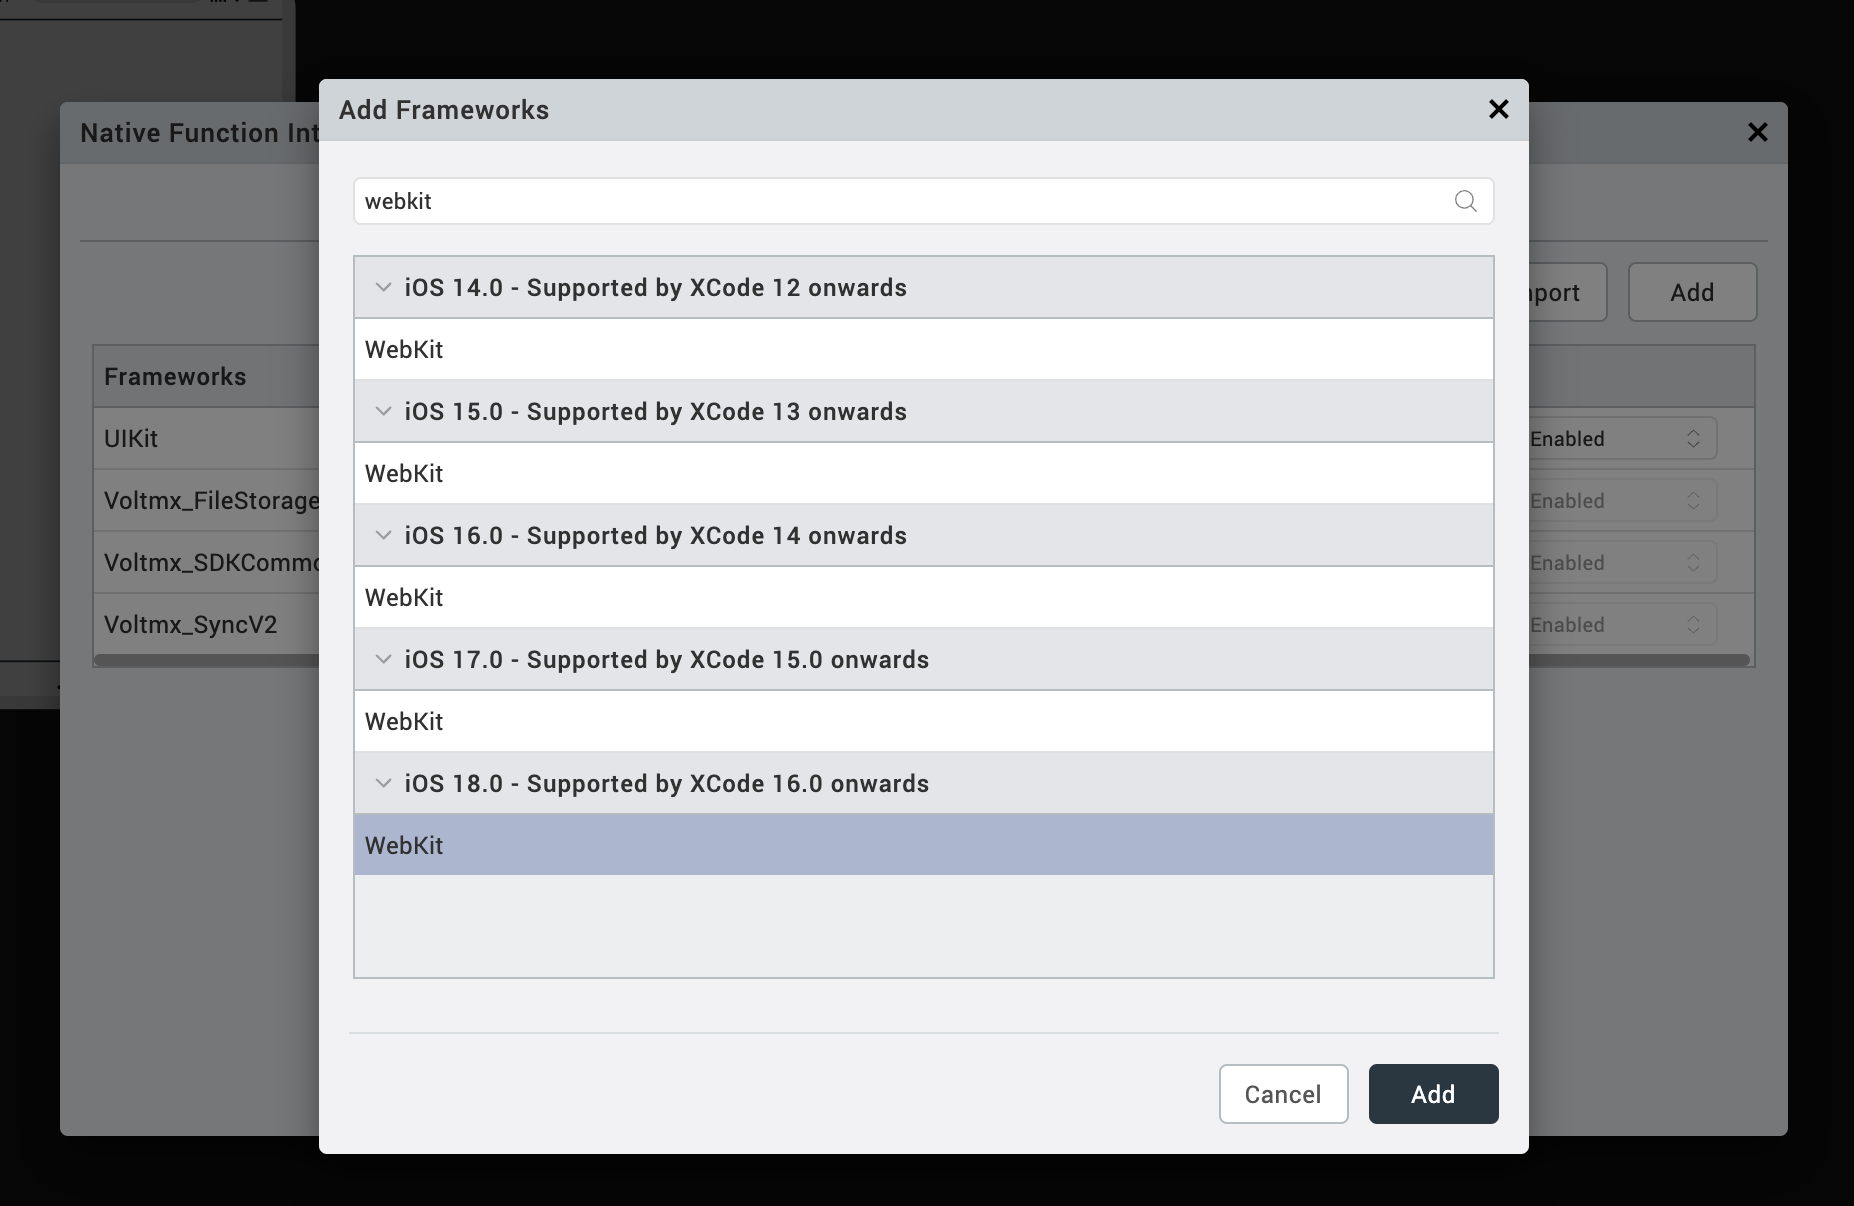
- Once NFI(in this case WebKit) added to Iris project, popup window looks like below:

With above steps, NFIs have been successfully imported into Iris and are ready for use.
How to use added NFIs in Iris
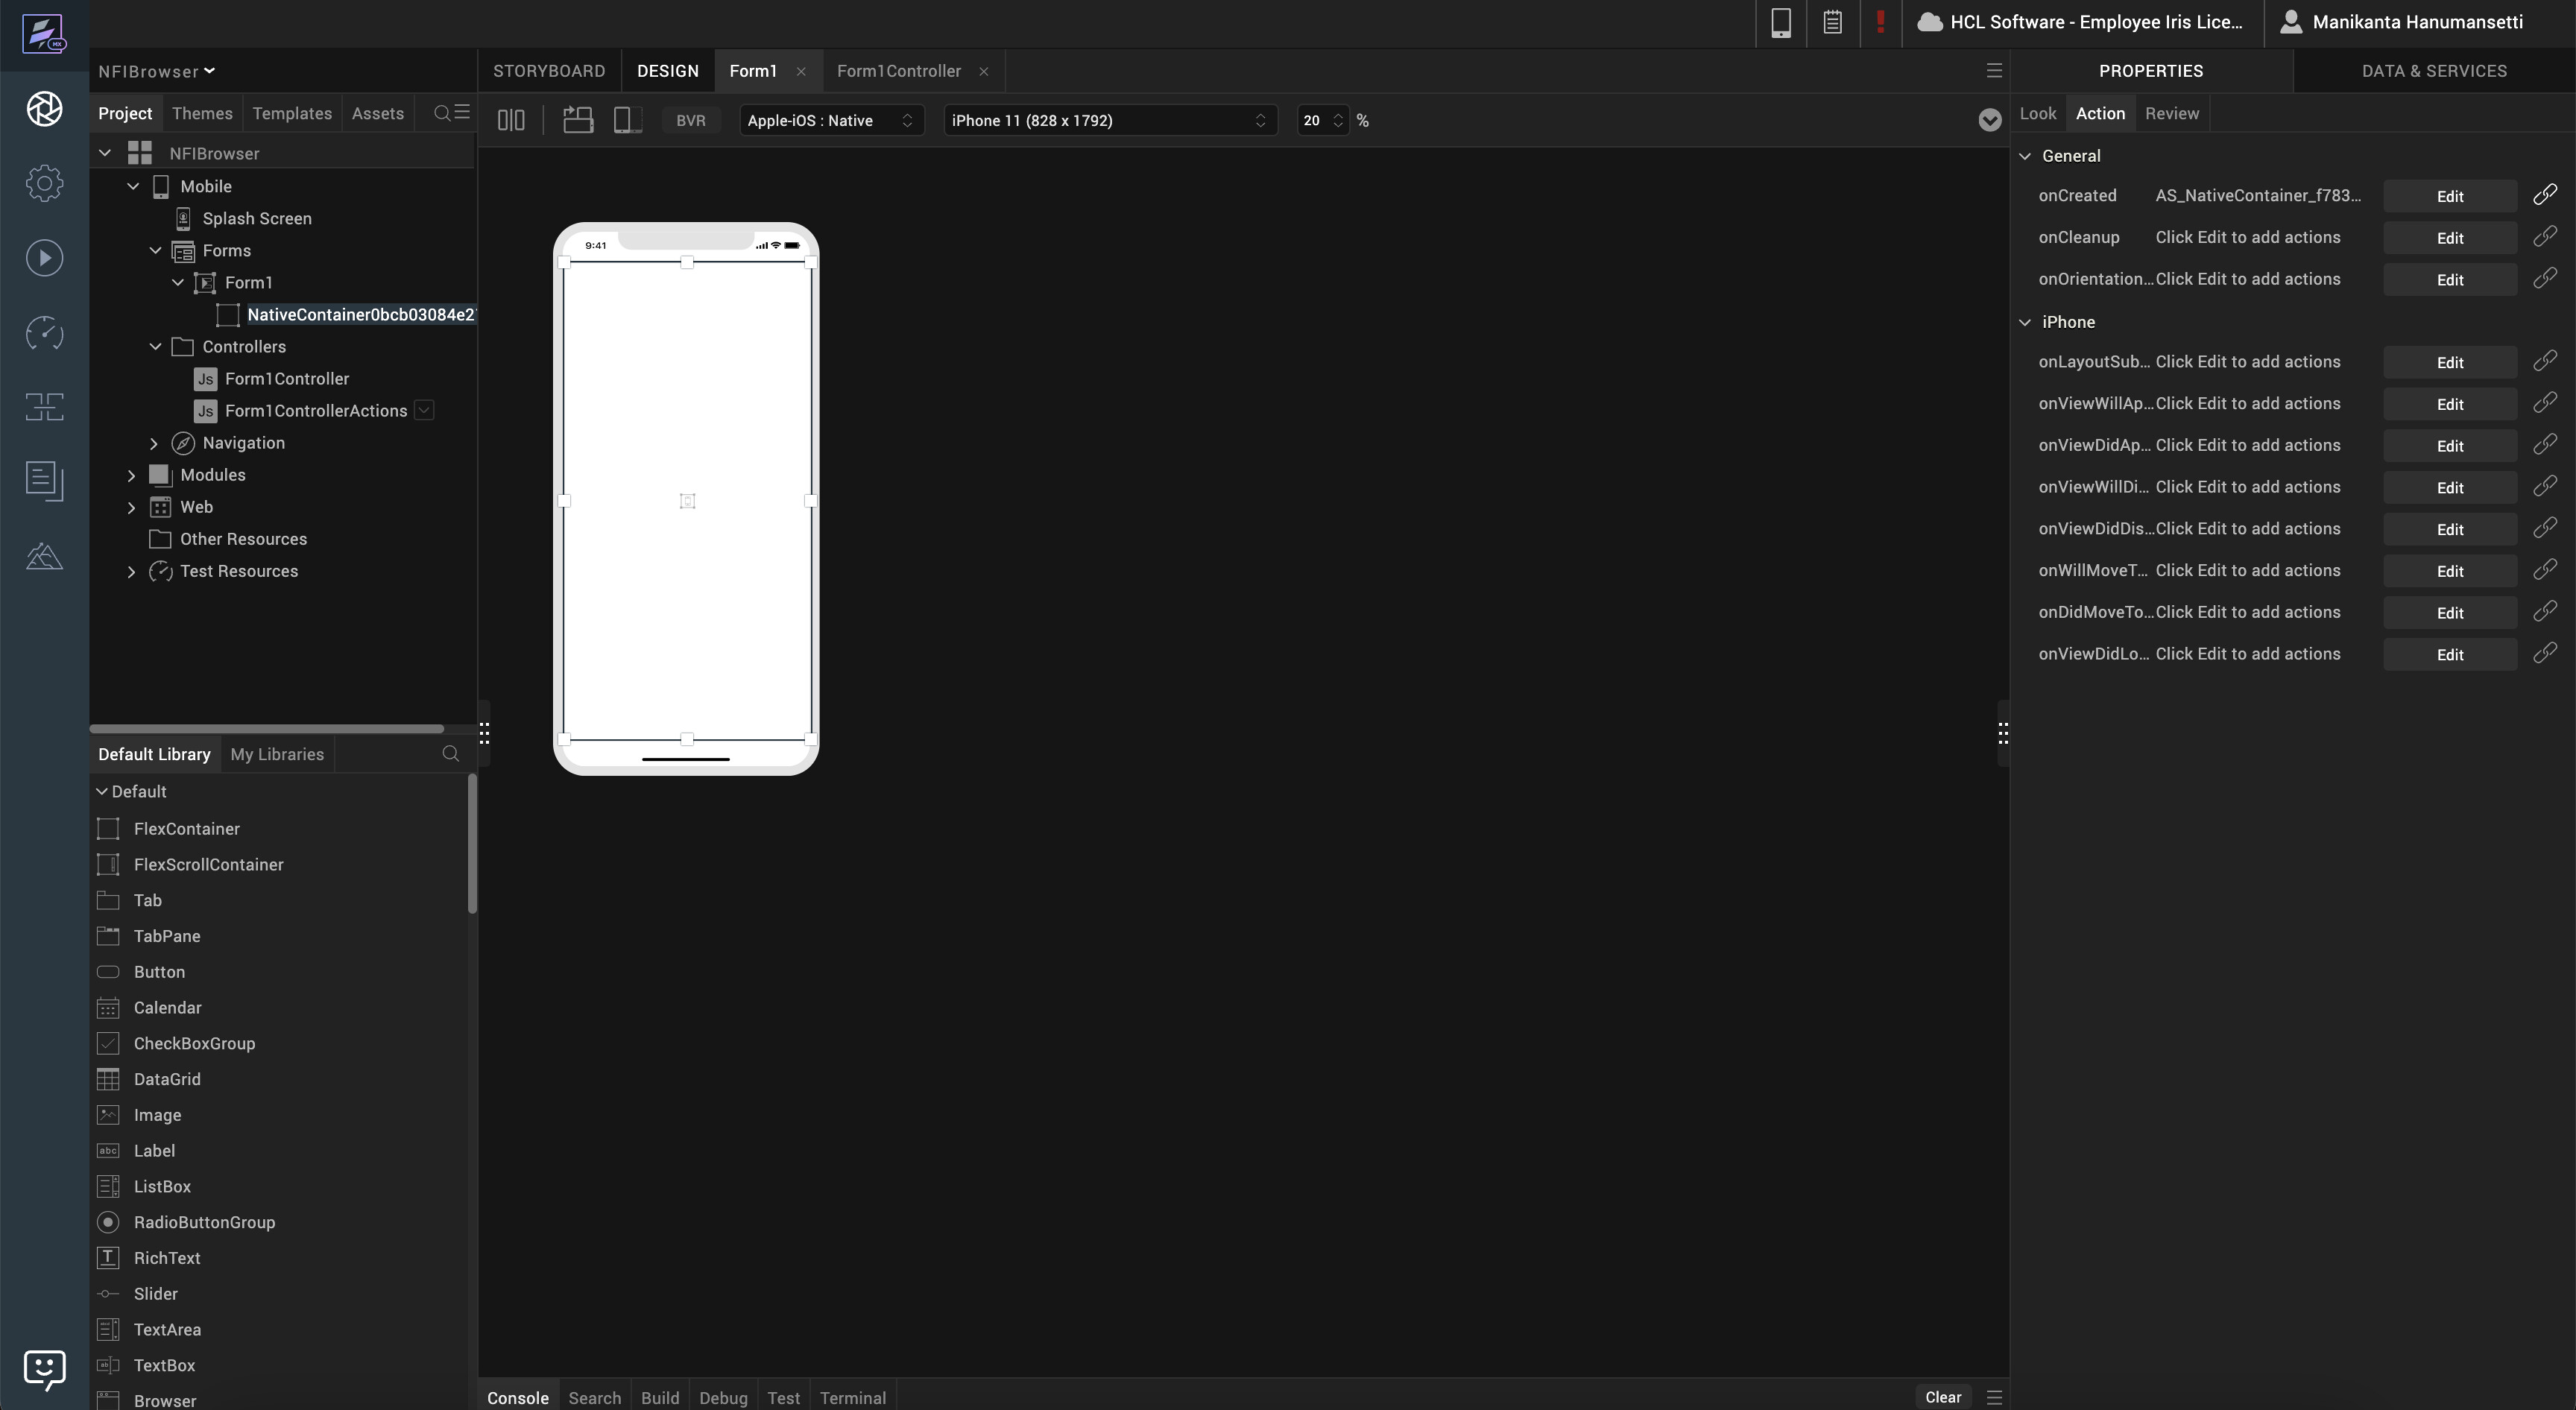
- Create a new Iris project. Drag and drop Native Container into Form.
-
In Action Editor of Native Container, click on OnCreated Action.
-
In this example, we will see how to load a web URL using NFI.
-
Create a new objc class using below snippet for WKNavigationDelegate.
myNewClass :objc.newClass('MyNewClass', 'NSObject', ['WKNavigationDelegate']
- Register required JSBindings that are needed from native like below:
    UILabel = objc.import("UILabel");
    UIAlertView = objc.import("UIAlertView");
    UIView = objc.import("UIView");
    UIButton = objc.import("UIButton");
    UIImageView = objc.import("UIImageView");
    UITextField = objc.import("UITextField");
    UISlider = objc.import("UISlider");
    UISwitch = objc.import("UISwitch");
    UIImage = objc.import("UIImage");
    NSLayoutConstraint = objc.import("NSLayoutConstraint");
    UIFont = objc.import("UIFont");
    UIColor  = objc.import("UIColor");

    WKWebView = objc.import("WKWebView");
    NSURL = objc.import("NSURL");
    NSString = objc.import("NSString");
    NSURLRequest = objc.import("NSURLRequest");
- Once all required bindings are registered, make UI with available elements.
createNativeUI : function(eventobject)
  {
    this.registerJSBindings();
    myObj = this.myNewClass.alloc().jsinit();
    eventobject.backgroundColor = UIColor.grayColor();
    var deviceWidth = voltmx.os.deviceInfo().screenWidth;
	var deviceHeight = voltmx.os.deviceInfo().screenHeight;
      var url = NSURL.URLWithString("https://www.apple.com/");
      var reqc = NSURLRequest.alloc().initWithURL(url);
       var btnFrame = {
      "x": 0.0,
      "y": 0.0,
      "width": deviceWidth,
      "height": deviceHeight
    };
      var web = WKWebView.alloc().initWithFrame(btnFrame);
      web.navigationDelegate = myObj ;
      web.loadRequest(reqc);
      eventobject.addSubview(web);
  }
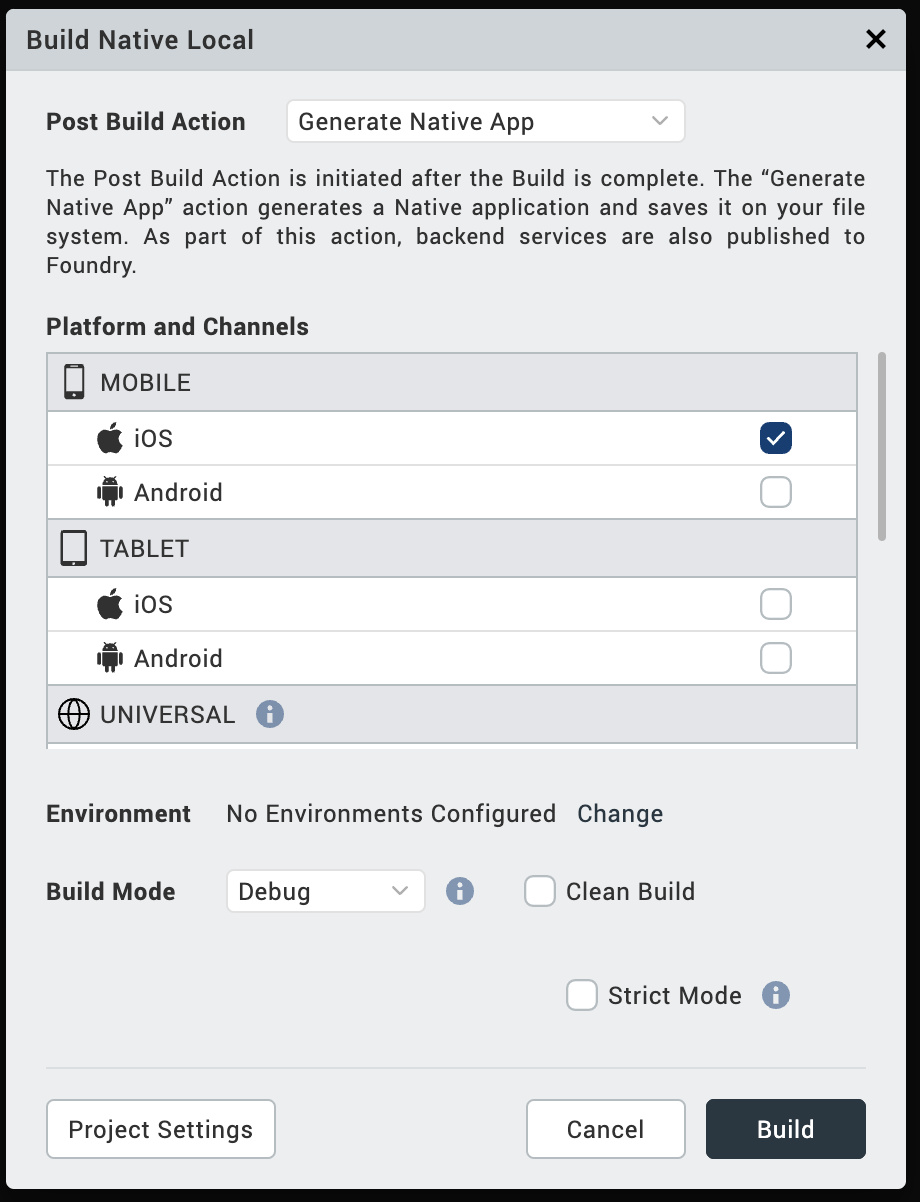
- Save OnCreated action of native container now. Click on Build in Menu Bar and select Post Build Action as “Generate Native App” and select channel as iOS and click on Build button at the bottom.
- KAR file gets generated for a successful build. When you run KAR file on a specific simulator output looks like below(Webpage loaded with https://www.apple.com/)
